Showing posts with label found object art. Show all posts

Wednesday, April 11, 2012

Weaving Project


I didn't capture it in the pictures but what was really cool about this project is that Mikey and Kaia worked together passing the pipe cleaners back and forth throguh the material to make a cooperative design


Materials Needed:
Onion or Potato Sack
Box or thick cardboard sheet
Duct tape or staples
Scissors
Materials for weaving we used pipe cleaners, but yarn, embroidery floss etc would work great

Directions:
1. Cut the sack in half so you have to sides
2. cut a hole in the middle of your cardboard so that you can use it as a frame for your weaving
3. Attach the sack material to the box with staples or duct tape (we used duct tape)
4. Start weaving we used pipe cleaners but use whatever material you have on hand

Contact Paper- Collages

Making a button collage on sticky clear contact paper
Choosing the right buttons for the project- I save all my buttons I have bags and bags of them. Ithink I might do a button sensory table later. Although I know it will be so messy.
Tissue paper resist contact paper collage.

1. We made a construction paper frame and put it on a piece of clear contact paper.
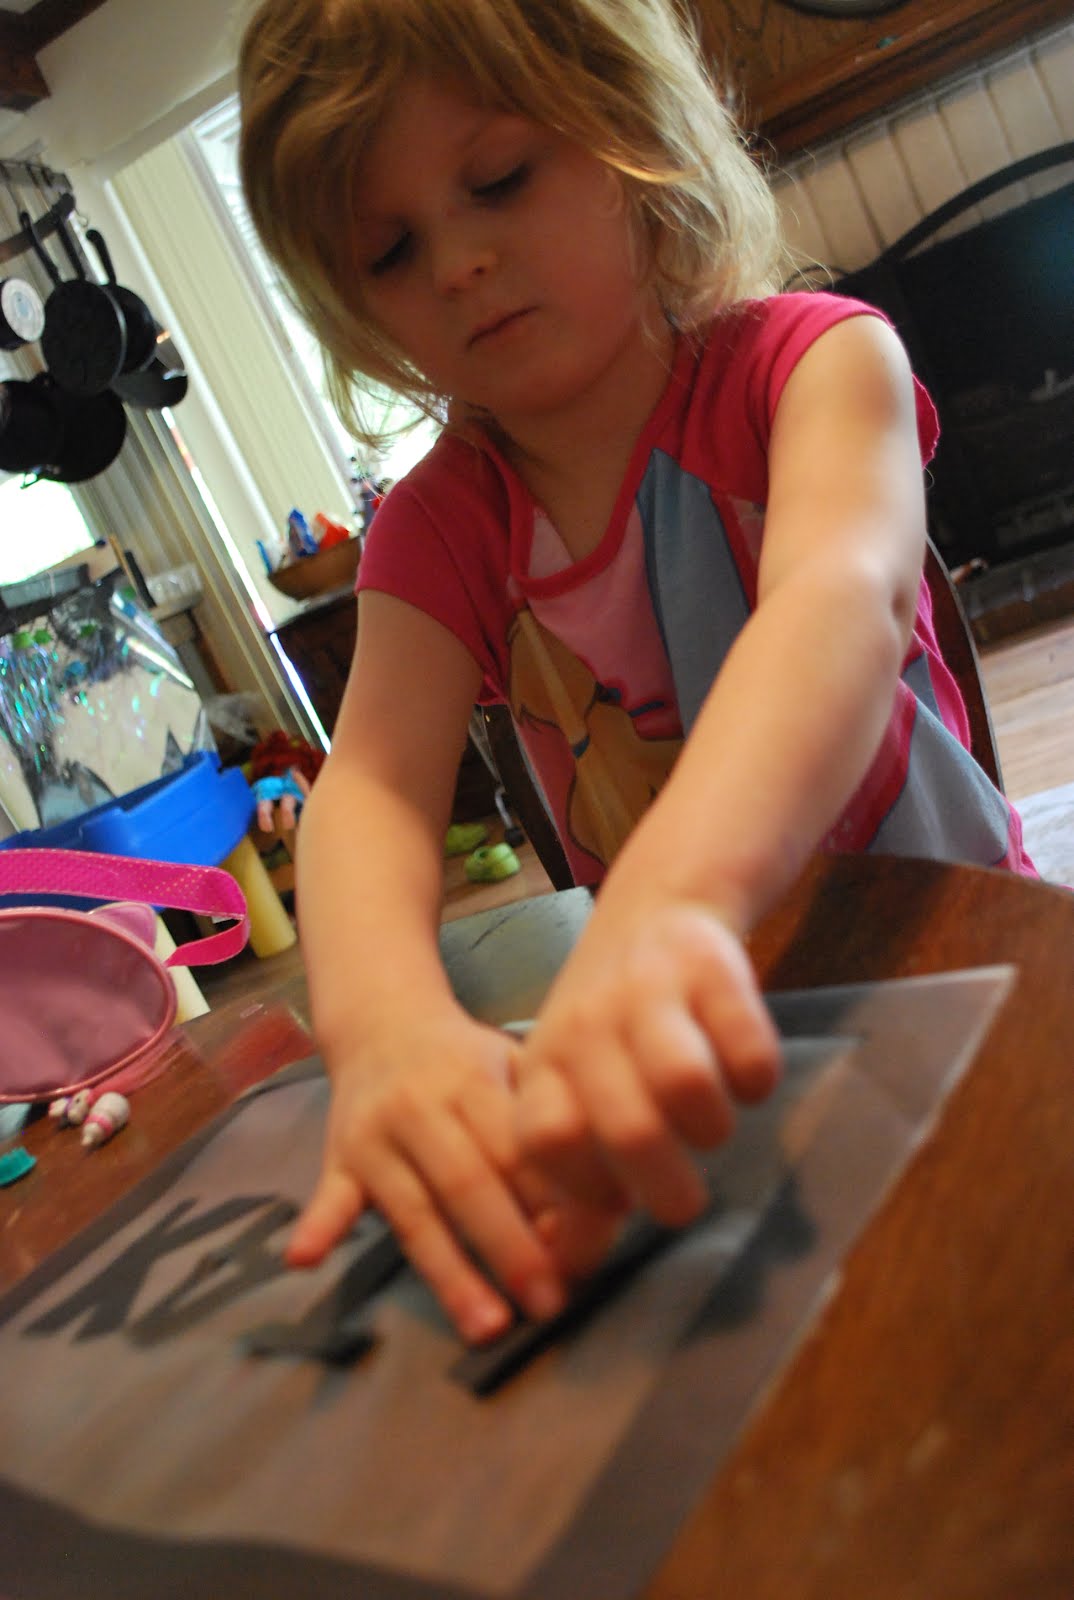
2. We decided what we wanted to use as our resist Kaia decided she wanted her name while Mikey wanted a puppy.
3. The kids put their resist on and then added tissue paper pieces in whatever colors they wanted.
4.. Add a contact paper backing to seal it all in and enjoy a beautiful pic that looks great in a window.


Tuesday, April 10, 2012

Egg Carton Challenge- A Jellyfish Forest

Our Jellyfish forest For my Post on The Egg Carton Challenge- Our Jellyfish forest visit this link on Familylicious my permanent site.

Glow Jars


For my Post on how to make Glow Jars visit this link I have WONDERFUL TIPS AND IDEAS and more plus tons of pics on my permanent site Familylicious

Sunday, October 2, 2011

Marble, Golf ball, and Magnet Paintings

Magnet Painting:

Materials Needed:
Paper plate (the cheap kind not the waxed kind)
Magnet Wand
Tempera Paint
Magnetic balls

Directions:
1. Put small drops of paint on plate
2. Now place two magnetic balls IN the paint and then hold a magnet UNDER the plate.
3. Using the magnetic wand under the plate use the wand to move the marbles through the paint and watch the colors mix


When I taught the two's I was terrified of having marbles in the classroom so instead we used Golf balls.
Golf ball Painting

Materials Needed:

Golf Ball
Box to hold paper
paper
paint (tempera works best)
bowl for paint and spoons (optional)

Directions:
1. Place the paper for painting inside a box
2. Here is where you have some options you can either
A. have paint set out in containers with a golfball in each color and a spoon for lifting and setting the golf ball into the box or
B. Squirt some paint directly onto the paper and place the golf ball into the box 3. Let the child sway the box side to side to move the ball through the paint


Marble Painting:

Materials Needed:

Marbles
Box to hold paper
paper
paint (tempera works best)
bowl for paint and spoons (optional)

Directions:
1. Place the paper for painting inside a box
2. Here is where you have some options you can either
A. have paint set out in containers with a marble in each color and a spoon for lifting and setting the marble into the box or
B. Squirt some paint directly onto the paper and place the marble(s) into the box
3. Let the child sway the box side to side to move the marble(s) through the paint


Squish Painting


Materials Needed:
Paint tempera works best biocolor also works really well with this
paper
squisher (pre made or BALLOONS work awesome!)

Instructions:
1. Place squisher in paint if you are using balloon make sure you only blow them up about half way
2. Make a print on your paper


Variations:
There are so many below we used loofah's to make squish paintings


Theme Painting


Materials Needed:
Thin plastic (I used the tops to cool whip containers)
Handle (I used the cap to dried out markers
Marker or pen
scissors
hot glue
paint
container to hold paint
paper

Directions:
1. Make your template I decided I wanted to make apple prints- without using real apples ( we were all out)
2. I drew out my template on a piece of paper first with a marker
3. Once I got it to look as Iwanted I cut it out and then used the paper template to trace the image onto the plastic lid. I then cut the image out using scissors
4. I then used hot glue to attach the "handle" (marker cap) onto the plastic apple cut out
5. Place your template in the paint and let the kids make prints

Variations: You can use this model to make prints of anything you want you can make cars, animals, sea shells, really anything!


Bubble Wrap Art


Materials Needed:
Bubble Wrap
Paint- tempera works best
Paper (optional)

Directions:
1. Paint Directly onto the bubble wrap with hands or brushes (we always use our hands)
2. this is optional- Put a paper on top of the painted bubble wrap and press down to make a print of your bubble wrap painting

Variations:
1. Add shaving cream for added texture
2. Wrap your hands in the bubble wrap (like gloves) and paint with them on paper


Check HERE to see another post on Bubble Wrap painting

Friday, August 19, 2011

Tile Paintings and Found Object Painting

We had some fun creating some exciting art projects. Yosemite (our Blue and gold Macaw) left Kaia a present one of his tail feathers fell out and Kaia used it like a pen to write on her paper.


They also painted tiles


And then of course finger painted as well.