Materials Needed:
Rubbing Alcohol
Pasta or Rice
Food Coloring or Liquid Water Colors
bowls or Ziploc Baggies
Drying area
Paper towels or paper bag (to soak up excess liquid)

Directions:
1. Portion out your pasta/rice into equal amounts for color distribution. Place the pasta/rice in bowls or ziploc baggies.
2. Cover the pasta/rice in rubbing alcohol you don't want the pasta/rice to be floating just cover to the top
3. Add food coloring/ liquid watercolors. STIR.
4. Let set for several Hours I let this batch set for 5 hours usually I let it set for 12-24 hours. Make sure that your bowls are covered with plastic wrap or your ziploc baggies are closed securely
5. Drain the liquid and place the pasta/rice on a drying area put papertowels/ paper bag underneath them to soak up excess liquid
6. Let dry for at least 2 hours
7. Enjoy! The alcohol does not absorb into the pasta or rice so they stay dry and crisp even after soaking.
Variation: This can be done with cooked spaghetti noodles for a fun sensory tub experiment!


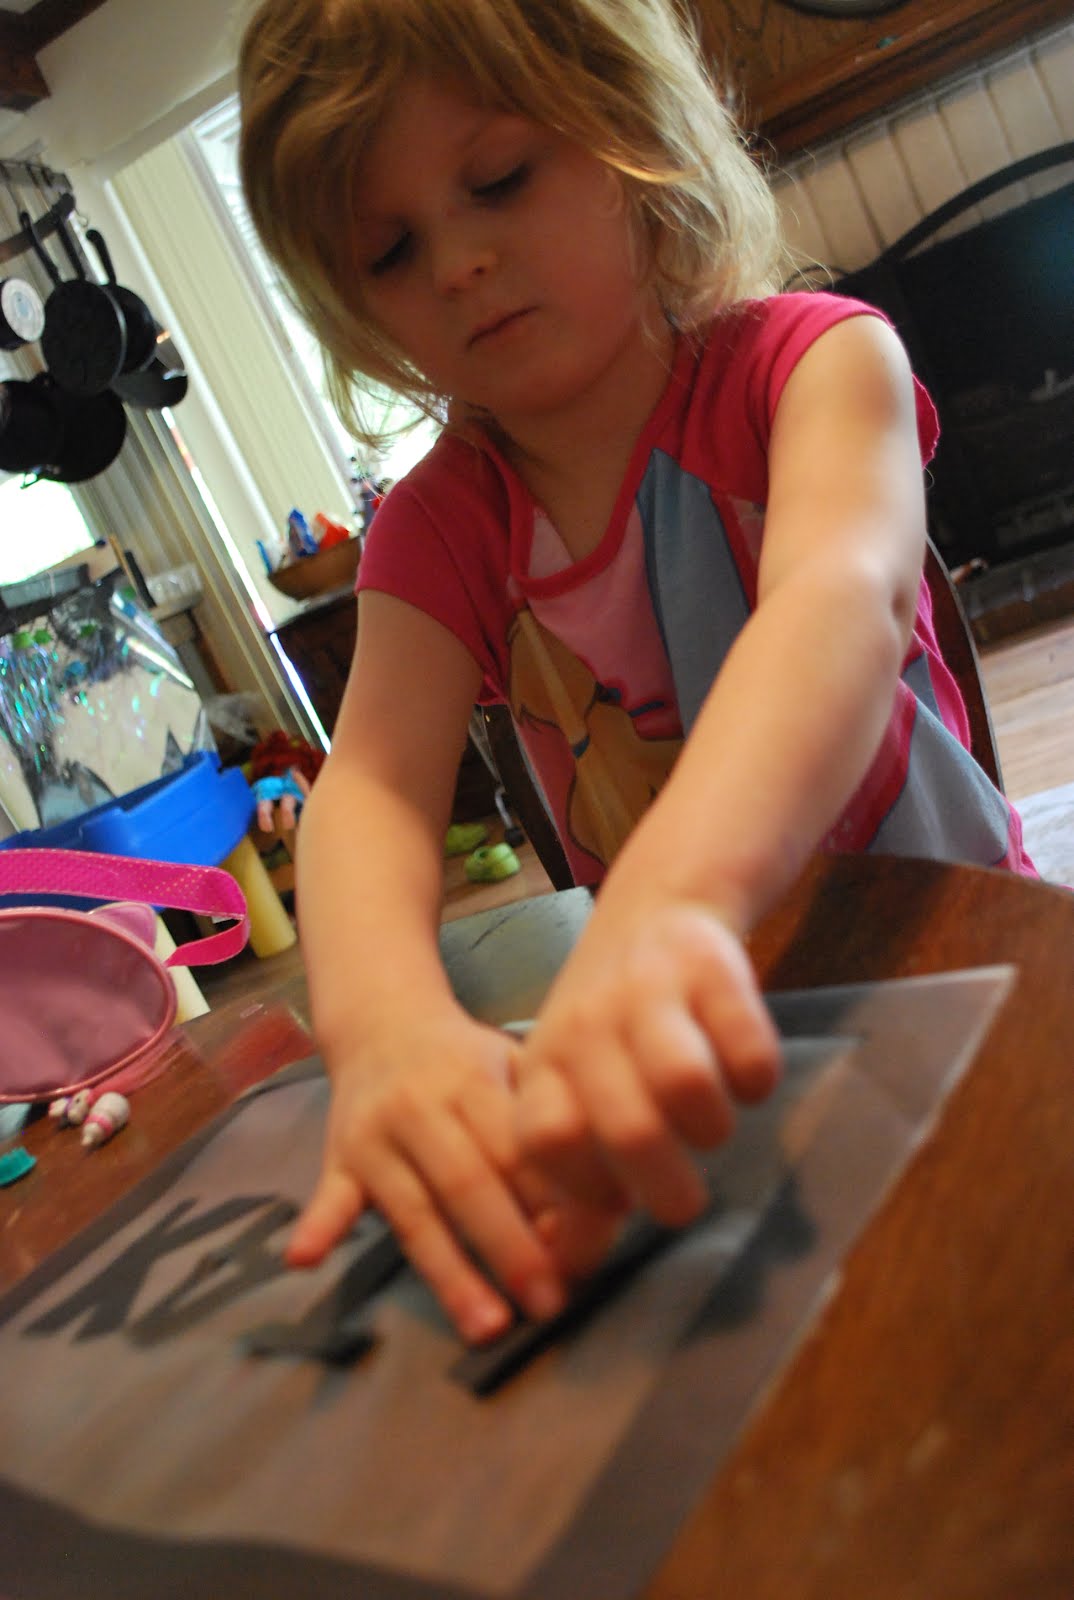
 Making a button collage on sticky clear contact paper
 Choosing the right buttons for the project- I save all my buttons I have bags and bags of them. Ithink I might do a button sensory table later. Although I know it will be so messy.
 Tissue paper resist contact paper collage.
 Our Jellyfish forest
For my Post on The Egg Carton Challenge- Our Jellyfish forest visit this link on Familylicious my permanent site.
Our Jellyfish forest
For my Post on The Egg Carton Challenge- Our Jellyfish forest visit this link on Familylicious my permanent site.
 Its been really hot so I took some liquid water colors and froze them in an ice cube tray
 I went to goodwill abd bought a white table cloth for $3
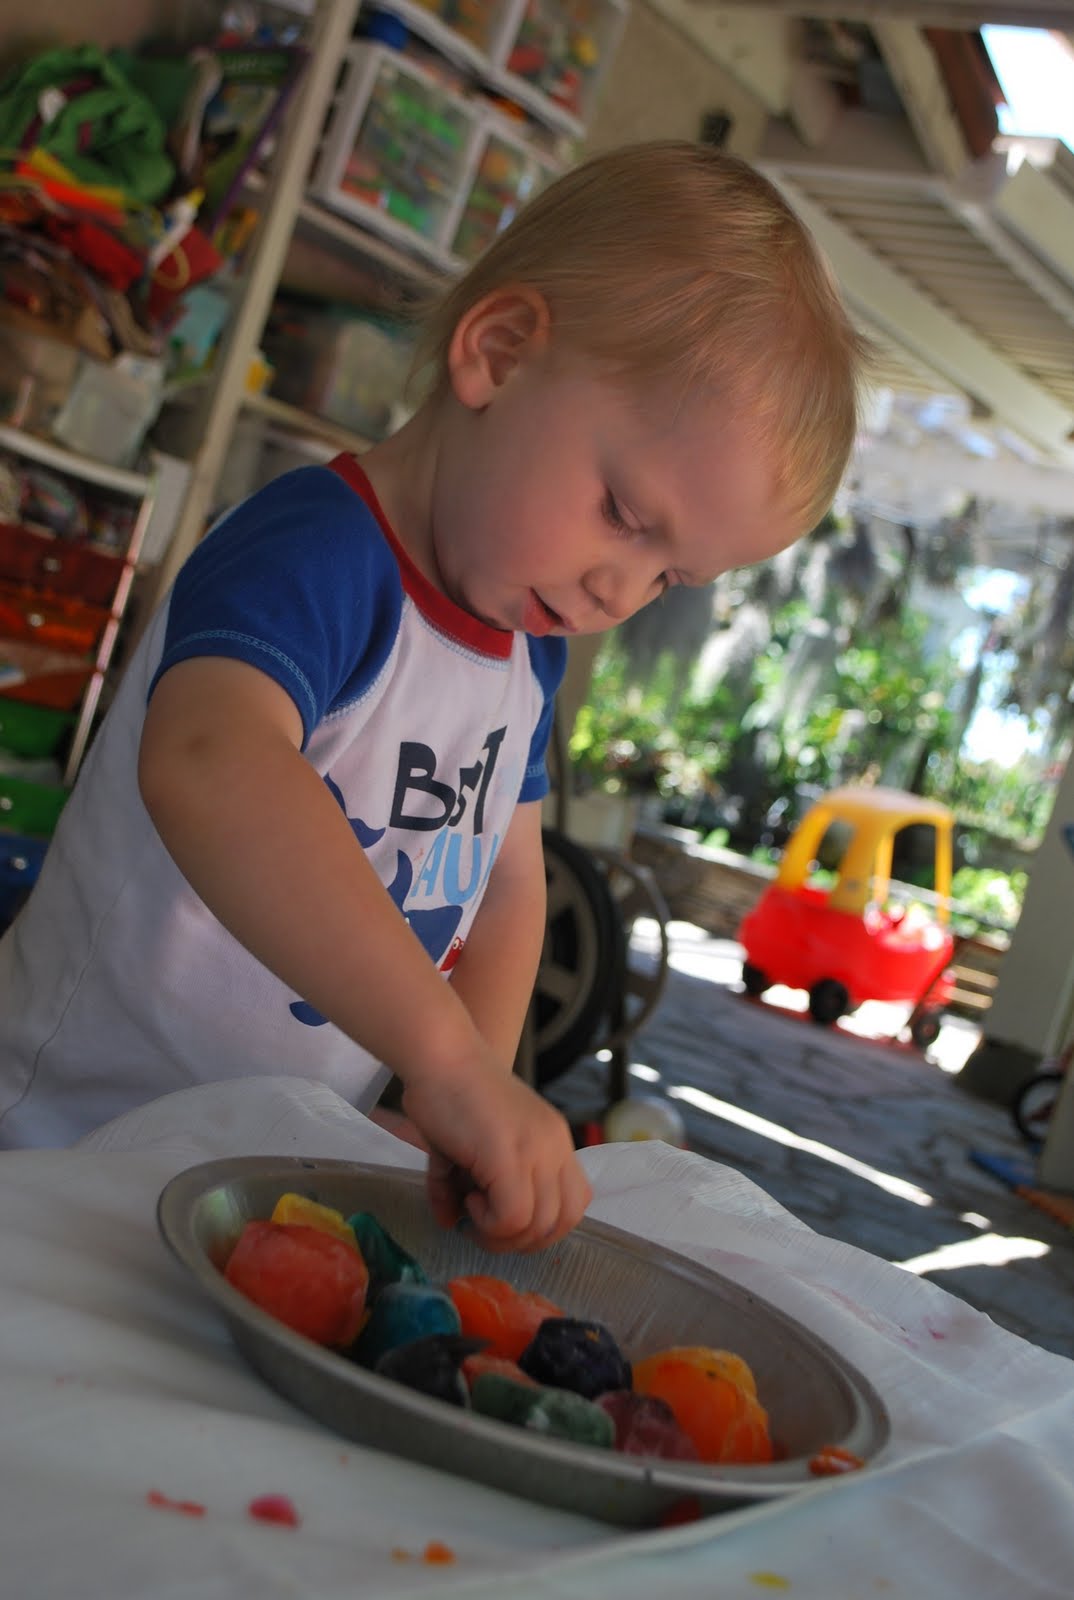
 We then went to town painting away

 It was awesome, we still had some frozen paint left so I stuck it back in the freezer for another day.


 Materials Needed:
 The kids had the option of writing their own letters or there were premade letters available. They then threaded and tied fabric through the letters to create a sign.
 They also painted with feathers they were encouraged to use both sides of the feather.


 Magnet Painting:


 When I taught the two's I was terrified of having marbles in the classroom so instead we used Golf balls.
 Marble Painting:


